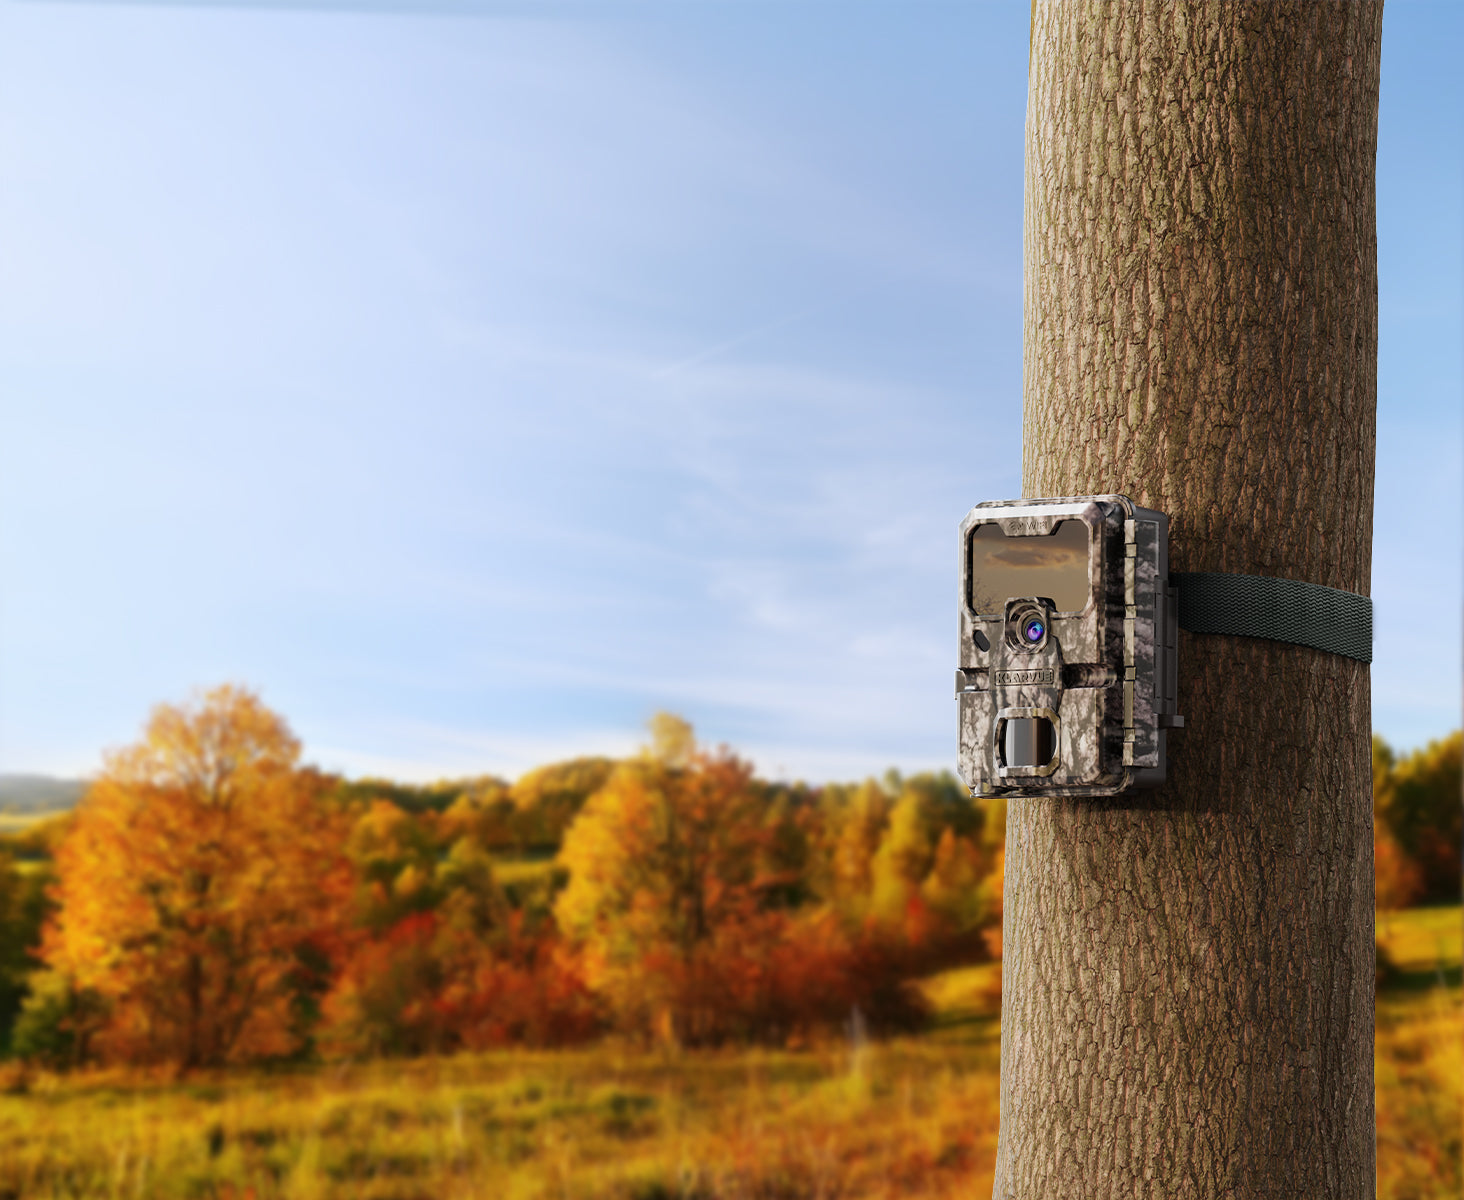
WiFi Trail Camera
Firmware Update Instruction
Computer / Laptop required:
1. Remove the SD card from your Guardian WiFi camera
2. Insert the SD card into your computer
3. Click the "Latest Patch" button below to download a zip file
4. Unzip the downloaded file then place both .bin files into the root directory of the SD card
5. Insert the SD card back into the camera, then switch to "ON"
6. Select "Yes" when prompted and wait for the update to complete
Frequently Asked Questions
What is the point of a WiFi Camera?
Great question! With a WiFi camera, you don't need to manually swap out the SD card to process pictures. All can be done through the app. It's especially useful if the camera is mounted somewhere that's hard to reach, or when you have multiple cameras within the 50ft radius.
Can the WiFi camera connect to the home internet?
No. Instead, your mobile phone connects to the camera's WiFi and bluetooth, which is why you have to be 50ft within the camera.
Does it support external power sources?
Yes, both the RANGER cell cam and the GUARDIAN WiFi cam support external power sources such as a solar panel.
GUARDIAN Wi-Fi Cam Setup Guide
1. Download the KLARVUE APP and create an account.
2. Unlatch the camera, then insert an SD card into the SD slot located on the left side of the camera. (Note: Insert the SD card upside down)
3. Insert 8 AA batteries (lithium batteries recommended) into the battery tray. Then switch on the camera.
4. Once switched on, press the left arrow button, then wait for the QR code to appear. (Note: If the display goes dark due to inactivity, press the "MENU" button to wake the camera up, then press the left arrow button again to reveal the QR code).

5. On the KLARVUE APP, click "ACTIVATE A DEVICE" or the "+" button at top right, then select "Wi-Fi Camera" to scan the QR code.
5.1.1 (For IOS users) Please make sure to allow bluetooth for Klarvue (See left image). If you selected "Don't Allow", you may manually enable it in settings (See right image).


5.1.2 (For IOS users) When you see the below prompt, select "Join".

5.2.1 (For ANDROID users) Normally, you will receive a prompt to join the camera's WiFi. If this is the case, simply click "join" and wait until it successfully connects.
5.2.2 (For ANDROID users) Otherwise, you will have to follow the in-app instruction to manually connect the WiFi. Once connected, return to the app and you are all set (IMPORTANT: DO NOT leave the app and manually connect the WiFi in settings, stay within the Klarvue app and follow the instructions).
*If you keep failing to connect, uninstall and reinstall the app to try again. If the problem persists, please reach out to support@klarvue.com.
6. Once connected, you may now: a) access its photo gallery to view / delete / download pictures; b) Change camera settings / see status / disconnect / or go to live view mode by clicking the recorder icon at the bottom (The recorder icon will turn dark when the camera is disconnected).


